
Sorry about the lack of posts lately. We have finally submitted Cally’s Caves 2 to Apple for review, so we are going to try and get back to posting regularly!
Testing a game on an iOS device seems like it should be a simple process, but we learned the hard way that minor details can complicate things at any time. In this dev diary, we will outline the steps of our testing process using Gamemaker: Studio, in the hopes that it may help some people overcome the same complications that we faced. This entry will be a bit technical and specific.
Note: We are using Gamemaker: Studio version 1.3.1344, and you will need access to a Mac.

1) Get your code ready for mobile.
We were developing a game that uses touch controls, but convenience necessitated being able to test on PC as well. This led to us having 2 control methods, and needing to switch between them. When we needed to export an .ipa file (the file type for iOS applications), we would need to disable the pc controls. We also based our resolution coding for iOS based off of the “display_get_size()” function, but when testing on windows we would use “window_get_size()” for everything to work properly. So, before you export your .ipa file, make sure you have everything ready for the mobile version.
2) Make sure your Apple stuff is in order.
If you are making an .ipa file, it’s likely that you already have an Apple Developer account. To make sure everything goes smoothly, it’s important to make sure you have the Apple requirements taken care of. There’s a great article for that here, but we will briefly outline the steps we went through.
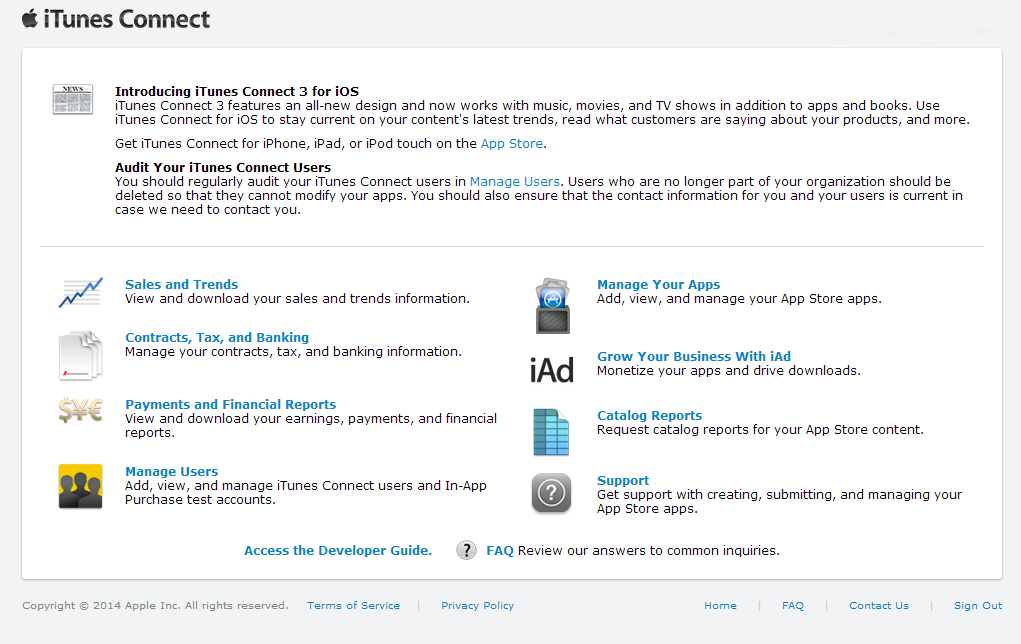
Itunes Connect
First off, create a new app ID in iTunes Connect (this is the app management side of the Apple Developer website). Make sure you pick a bundle ID you will be happy with. For example, ours was “com.vdogames.callyscaves2.” You’ll also have to come up with a SKU and some version details. Fill out the rest of the required fields, but remember to go over everything again when you are ready to release the app (once it’s approved you won’t be able to change search keywords, etc). To keep things easier later, set your app’s version to “1.0.0” instead of the default “1.0.” Once you have an app registered and bundle ID, you should see it’s icon in the “Manage Your Apps” section of iTunes Connect. Once this is done it’s time to make a certificate and provisioning profile.
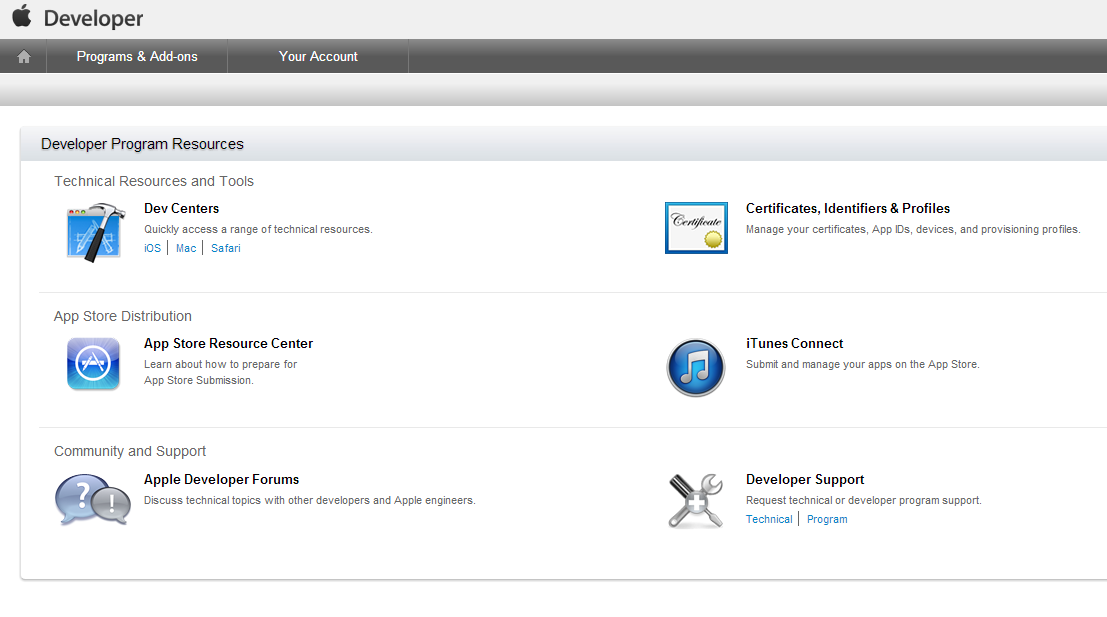
Apple Developer – Certificate
For convenience, hop onto your Mac, and head over to the Apple Developer website and log in. You now need to generate a certificate and provisioning profile for your app. Go to Certificates, Identifiers & Profiles, and go to the Certificates Section, and click the plus button to generate a new certificate. You’ll want to make it an iOS development certificate, although later when it’s time to ship your app you need to sign it with a distribution certificate instead. For testing purposes, however, just stick with the development certificate. When the certificate is created, download it to your Mac, and double click it to add it to your “login” keychain on your Mac (Note: Back when we made Cally’s Caves 1, we had to do a certificate signing request before adding our development certificate to the system keychain. This can be done through Finder – Applications – Keychain Access – Certificate Assistant. For Cally’s Caves 2 however, we no longer had to do that, even on a different Mac). Now go into your keychain and double click the certificate to see the private key. Click the private key and go the “access control” tab, and make sure that all applications can use the key.
Apple Developer – Devices
In order to test an app on an iOS device, you have to have that device registered in a provisioning profile. This profile is baked into the app, and also installed on the device you are using to test it. If you don’t set up a provisioning profile properly, your app will try to install, but remain dimmed out with the word “installing” or “loading” beneath it. In order to authorize the device, you need to get a number called the Unique Device Identifier (UDID). To find this quickly, simply plug in your iOS device, open up iTunes, and go to the “Summary” tab of your device. There you’ll see the device name, and underneath it the serial number. If you click on the serial number once, it will switch to the UDID number. In the Apple Developer Website, click on the “devices” tab, and put register the UDID for any devices you will be testing your app on.
Apple Developer – Provisioning Profile
Finally, you are ready to generate a provisioning profile, so go to that section of the Certificates, Identifiers & Profiles section. Make sure it points to your app’s bundle ID, and includes all the devices you have registered. Then you are ready to generate the profile, and download it. You will need to install this profile onto your test devices, and for that, we use the iPhone Configuration Utility for Mac or PC. Simply drag the provisioning profile you downloaded into the “provisioning profiles” section of the Iphone Configuration Utility. Then plug your iOS device in, go to its section in the iPhone Configuration Utility, go to the provisioning profile subsection, and click “install” next to the profile. It should only take a couple seconds to install. Once you’ve installed the provisioning profile on all your devices, your Apple authorization tasks are done.
3) Set up the Mac and link your Mac and PC
You’ve already installed your development certificate to your keychain, which will be used to codesign the app when it is exporting. Now we have to get everything else on the Mac ready to export. First off, make sure you have the most recent version of Xcode downloaded from the Mac Appstore. You’ll also want to make sure the command line tools are installed, which can be found in the Xcode preferences. You should put your Apple Developer Account information into the preferences so Xcode can verify your profile and certificates, and download ones you create in the future easily. Next go to System Preferences – Sharing, and make sure that you have remote login allowed. On the remote login screen, it will say “users that want to remote login can connect to this address…” followed by an IP address, copy down the IP address for future use. Now, go back to the PC and open up Gamemaker: Studio. open up your project and after it’s loaded, go to File – Preferences – Mac.

Here is where you will want to type in the Mac’s IP address, as well as the username and password you use to log in to the Mac. Once those are set up, hit “Check Mac Connection” and Gamemaker will ping the Mac and let you know if it’s working ok. If there’s any problem connecting to the Mac, double check your Sharing preferences and make sure your PC is open to network with other computers.
4) Put your app settings into Global Game Settings
Go to Global Game Settings at the bottom of your Project Resource Tree in Gamemaker: Studio. If you click the “iOS” tab, you’ll see that there’s some fields that need to be filled out. The Display Name is the title of your app, as it appears on your device. The Bundle Identifier is the same as the one we created earlier (remember ours was “com.vdogames.callyscaves2”). The version should be left as 1.0.0. (IMPORTANT: do not try to change the version to 1.0 in the Gamemaker Global Settings. if you erase one of the version number fields and hit OK, it can potentially corrupt your project file). You can also choose what orientation your app can be viewed at, and whether you want it to be an iPhone app, iPad app, or both. You should also put in icons here, if you have any. If not, Gamemaker will give you placeholder icons. Next, click “Splash Screens” and put in your images. If you don’t have any, a Gamemaker placeholder splash screen will appear until you do. In the graphics tab, click “Full Scale” and make sure “Interpolate Colors Between Pixels” isn’t checked. Finally go to the provisioning tab and click “refresh from Mac.” You’ll see some text appear in the compile window as Gamemaker gets some information from the Mac. When that’s done, click “Provisioning” and select your provisioning profile, and click “Certificates” and select your developer certificate. In the newest version of Gamemaker: Studio, this last step isn’t necessary anymore, but we still do it just to be safe.
5) Export
Go to Gamemaker: Studio on your pc and go to “File – Create an Application.” Select the name for your file and note that Gamemaker now exports xarchive files instead of an .ipa. Although this seems inconvenient, it actually gives you more control over everything and was a great choice by Yoyo Games. When this is done you are ready to export. Well the game is exporting you will see the regular compile script in the GM compiler window, followed by a bunch of code telling the Mac what to do. If you get any errors like “user interaction not allowed” then something must be setup incorrectly on the Mac, try googling the error, or go back and go through the steps again. There’s literally thousands of things that can go wrong, and someone else has likely been through the same thing, so just keep patient and do some searching and you will be able to figure out what’s wrong. At this point if nothing goes wrong, switch over to your Mac and Go to Xcode – Windows – Organizer.
When the compile is done, Gamemaker now will transfer the xarchive file back to your PC, and also try and deploy the app on a device that is plugged into the Mac. We always compile without a device connected, and it gives us an error at the end, but it doesn’t affect the app. After the compile is done, you should see an archive in the Xcode Organizer window, with whatever icon you had assigned and the time it was created. At this point you can click “generate” and Xcode will start the .ipa build process. It will ask you to select the provisioning profile and codesigning certificate and then generate an .ipa file to the place of your choosing.
6) Load the app onto your device
Finally, plug your iOS device into your PC or Mac (it shouldn’t matter), and open up either iTunes or the iPhone Configuration Utility. You can install the app on either program by dragging the .ipa file into your app library, then syncing it to the phone. If the app stays greyed out, then its a provisioning profile issue, and you should make sure the proper profile is installed and that the device UDID is in that profile. You should now be able to boot up your app and test it on your iOS device!
Overall the process of figuring out how to export an app the first time is harrowing. There are lots of problems that can pop up, and it can be extremely frustrating. But once you get it to build an app once, you can just leave everything as it is and make as many builds as you need to get the job done. If you get any errors throughout the process of setting up and exporting, simply Google the error text or what is happening, and you will likely find a solution. If you ever are stuck or have any questions, you can always email us at jordanfwc@gmail.com to see if we encountered the same problem. We hope this helps you with your iOS testing workflow!
Cally’s Caves 2 is currently submitted and awaiting review from Apple.
